

ISO explained simply for portrait photographers
If you’re trying to understand ISO for portrait photography, you’re not alone.
A lot of beginner photographers feel overwhelmed by ISO because they’ve heard conflicting advice about noise, image quality, and camera settings.
However, understanding ISO for portrait photography is much simpler than most photographers think.
We’ve been there.
And if you’ve ever stood at a session wondering why your photos suddenly got dark, this guide is for you.
Okay, let’s keep this simple.
By the end of this blog, you’ll understand:
What ISO actually is
How ISO affects your photos
Why photographers are so afraid of it
When to raise ISO
When to lower ISO
The biggest ISO mistakes beginners make
How ISO works with aperture and shutter speed
Because your camera is not broken.
You just need a plan.


Best ISO Settings for Portrait Photography

Understanding ISO for portrait photography starts with knowing that ISO controls how sensitive your camera is to light.
ISO controls how sensitive your camera is to light.
Think of it like your camera’s brightness setting.
Lower ISO = less brightness
Higher ISO = more brightness
That’s it.
Seriously.
If you’ve ever Googled:
“What ISO should I use?”
five minutes before a session…
welcome. 😂
Most cameras have ISO settings that look something like this:
100
200
400
800
1600
3200
6400
The bigger the number, the brighter your image becomes.
Simple.
How It Affects Your Photos
ISO controls 2 main things:
1. Brightness and ISO for Portrait Photography
This is the easy one.
A higher ISO brightens your image.
For example, photographers often raise ISO indoors.
Meanwhile, sunset sessions may require a higher ISO as light fades.
During receptions, photographers frequently increase ISO to maintain a fast shutter speed.
This is why photographers often raise ISO when shooting:
Indoors
At sunset
During receptions
In darker lighting situations
Because sometimes there simply isn’t enough light available.
2. Image quality
This is where photographers get nervous.
As ISO increases, your camera can introduce something called noise.
Noise looks like tiny grainy specks throughout your image.
Kind of like this:
Smooth image = lower ISO
Grainier image = higher ISO
Now before you panic…
Most photographers worry WAY too much about this.
Modern cameras handle high ISO much better than they used to.
And honestly?
A slightly grainy image is better than a blurry image every single time.
We’ll talk more about that in a minute.

Why photographers are scared of ISO
Because somewhere along the way, photographers started treating high ISO like it was illegal.
We see this all the time.
Someone is shooting:
ISO 100
1/80 shutter speed
Kids running everywhere
And their photos are blurry.
Why?
Because they’re trying so hard to avoid raising ISO.
Meanwhile, their shutter speed is way too slow.
Here’s the truth:
Sometimes raising ISO is the correct decision.
Actually…
A lot of the time it’s the correct decision.

The biggest ISO mistake beginners make
Keeping it too low.
Yep.
Most photographers think:
“Lower ISO = better photographer.”
Not true.
Good photographers use the settings they need for the situation.
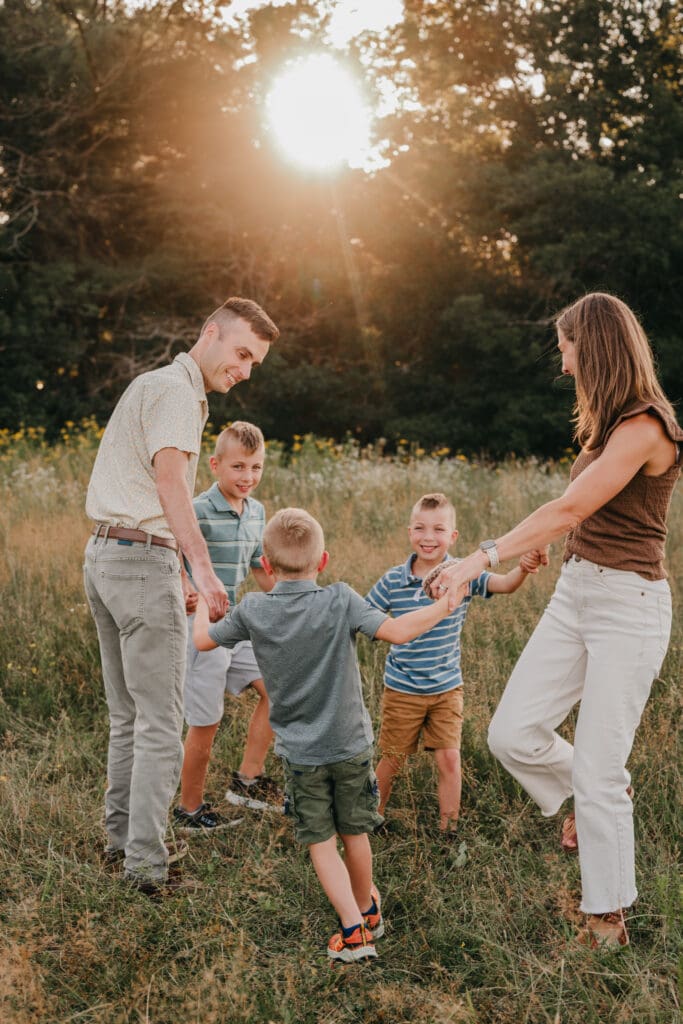
Let’s say you’re photographing a family at sunset.
Your camera settings might look like:
f/4
1/500
ISO 100
But as the sun gets lower, your image gets darker.
Now you have options:
Lower shutter speed
Open your aperture
Raise your ISO
Sometimes raising ISO is the best choice.
Because you still need:
Sharp images


Enough depth of field
Proper exposure
ISO is simply one of the tools that helps you get there.
When should you raise ISO?
A good rule:
Raise ISO when you need more light but don’t want to change your aperture or shutter speed.
For example:
Family session

You need:
f/4
to keep everyone sharp
You need:
1/500
because kids move approximately 87 miles per hour
So your only remaining option might be increasing ISO.
Indoor sessions
Natural light can disappear quickly indoors.
Instead of shooting at:
1/60
and risking blurry photos
you may raise your ISO to:
800
1600
or higher
to maintain a safe shutter speed.
Wedding receptions
Reception halls are often dark.
Really dark.
Like:
“Who turned off every light in this building?” dark.
This is where photographers often use:
ISO 3200
ISO 6400
or even higher
depending on the situation.
And that’s okay.


When should you lower ISO?
Whenever you have plenty of light available.
For example:
Bright sunny days
Outdoor sessions
Golden hour when there’s still lots of light
Studio sessions with artificial lighting
In these situations, lower ISO often gives you cleaner files.
Many photographers start around:
ISO 100
or
ISO 200
when lighting conditions allow.
A simple way to think about ISO
Ask yourself:
“Do I have enough light?”
If yes:
Keep ISO lower.
If no:
Raise ISO.
Stop overcomplicating it.
You are not earning extra photographer points for suffering in the dark. 😂
The secret most photographers miss
ISO is not a badge of honor.
It’s a tool.
We see photographers brag about shooting everything at ISO 100.
Cool.
But if your photos are blurry because your shutter speed was too slow…
that’s not helping anyone.
The goal is not:
lowest ISO possible
The goal is:
best photo possible.
Those are very different things.
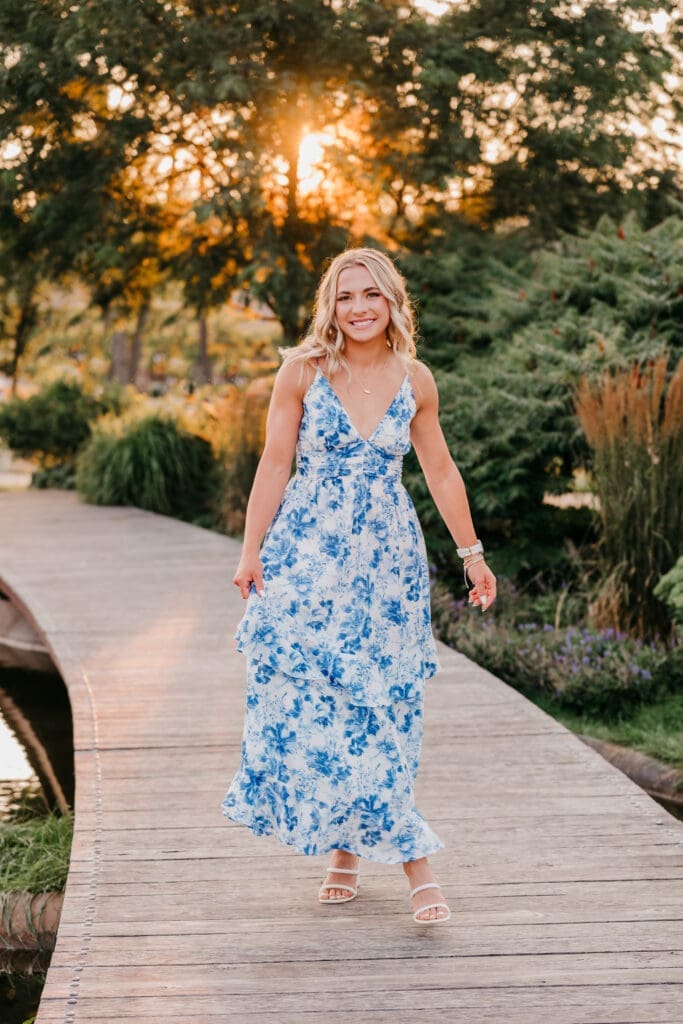
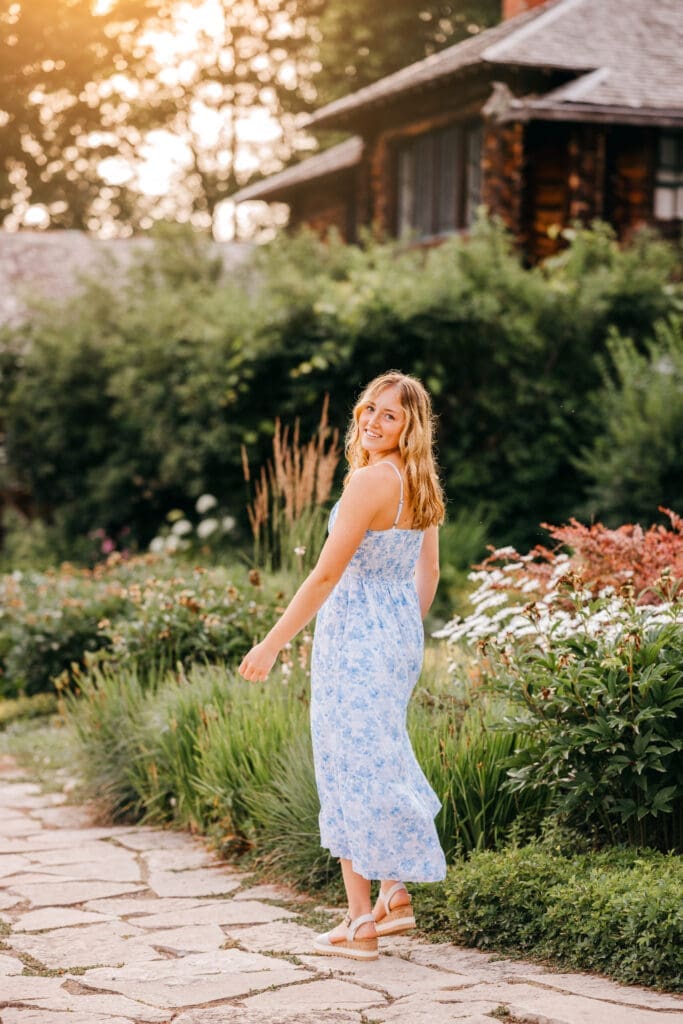
A quick real-life example
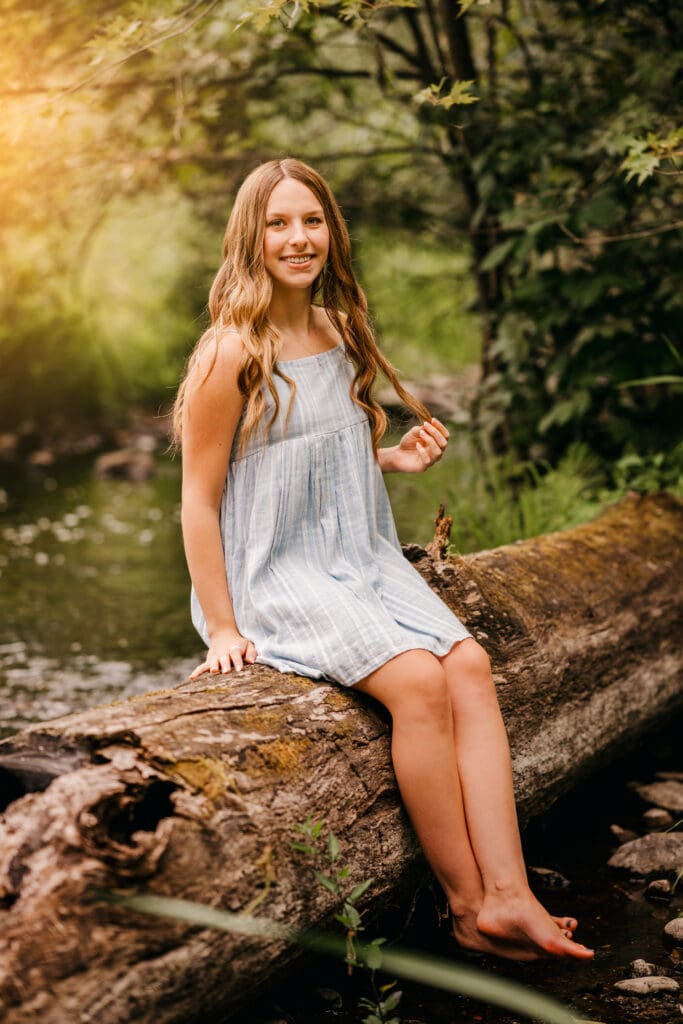


Let’s say you’re photographing a senior session.
The sun starts dropping behind the trees.
Your settings might start at:
f/2.2
1/500
ISO 100
As the light fades, your image gets darker.
Instead of changing your aperture or risking blur by lowering your shutter speed, you could increase your ISO.
Maybe ISO 200 gets you where you need to be.
If not, try ISO 400.
Still too dark? ISO 800 might be the better choice.
until your exposure looks correct.
See how simple that is?
You’re adjusting based on the situation.
Not memorizing random numbers.
How ISO works with aperture and shutter speed
Okay, really important.
ISO is only ONE part of manual mode.
The other 2 settings are:
aperture
shutter speed
And all 3 work together.
Let’s say you increase your shutter speed to freeze movement.
Your image gets darker.
You might need to:
lower your aperture
raise your ISO
or move into better light
Every setting affects the others.
That’s why learning manual mode can feel overwhelming when you’re learning from random tips online.
Nothing feels connected.
But once you understand what each setting actually does?
Everything starts making sense.
The biggest mindset shift


You do not need to memorize the “perfect” ISO.
There isn’t one.
The right ISO depends on what’s happening in the moment.
That’s why Googling “best ISO for portraits” can be so frustrating.
The answer is always: it depends.
This is why Googling:
“Best ISO for portraits”
usually creates more confusion.
Because the answer is:
it depends.
Understanding beats memorization every single time.
Final thoughts
If ISO has felt intimidating, hear this:
You are not behind.
You are learning a skill.
And honestly? Most photographers struggle with ISO because no one explained it clearly.
Keep it simple:
Lower ISO = darker image, less noise
Higher ISO = brighter image, more potential noise
Raise ISO when you need more light
Don’t be afraid of higher ISO values
Sharp photos matter more than perfectly clean photos
That’s the foundation.
And once you understand the “why,” you stop guessing and start making intentional decisions with your camera.
Which changes EVERYTHING.
Ready to finally understand manual mode?

If you’re tired of second-guessing your settings, wondering why your photos look different every session, or feeling like manual mode still hasn’t clicked…
Our Manual Mode Training was made for you.
We break everything down:
step-by-step
in simple language
with real examples
so photography finally makes sense.
Just practical education that helps you feel confident with your camera.
If you’re ready, this is for you.
👉 Watch the Manual Mode Training Replay from our last training here:
https://e-squared.mykajabi.com/manual-mode-live-replay
More places to hang out with us 📸
📷 Follow us on Instagram:
https://www.instagram.com/esquared.photography/
🎁 Grab more free photography resources:
https://esquaredphotography.com/freebies
You are not behind.
You just need a plan.
Glow & Grow with E-Squared
How to Master Natural Light for Stunning, Client-Winning Portraits. This video training walks you through how to avoid bad light, deal with not ideal light, and find beautiful light.
Free Training
 (2)")


