

ExpoDisc White Balance: Get Better Colors Before You Even Start Editing

Have you ever finished a session, imported your photos into Lightroom, and immediately realized something felt off? Maybe the skin tones looked too blue. Maybe everything felt too warm. Suddenly you’re dragging the white balance slider back and forth, hoping it eventually looks right.
We’ve been there.
For the longest time, we thought editing was just supposed to take forever. Then we realized the problem wasn’t Lightroom. It was our white balance before we even took the photo.
Once we started using an ExpoDisc, everything changed. Our colors became more consistent, our skin tones looked much more natural, and editing became so much faster.
What is white balance, and why does it matter?


White balance is simply your camera’s way of making colors look natural. It’s what keeps white clothing looking white instead of blue or yellow, and it’s one of the biggest factors in getting natural-looking skin tones.
When your white balance is off, every edit becomes harder. You’re constantly correcting colors before you can even begin your normal editing process.
Getting your white balance right in camera means you’re starting with a much better image. That doesn’t mean you’ll never edit again. It simply means you’re no longer trying to rescue every single photo before you can actually be creative.
What is an ExpoDisc?

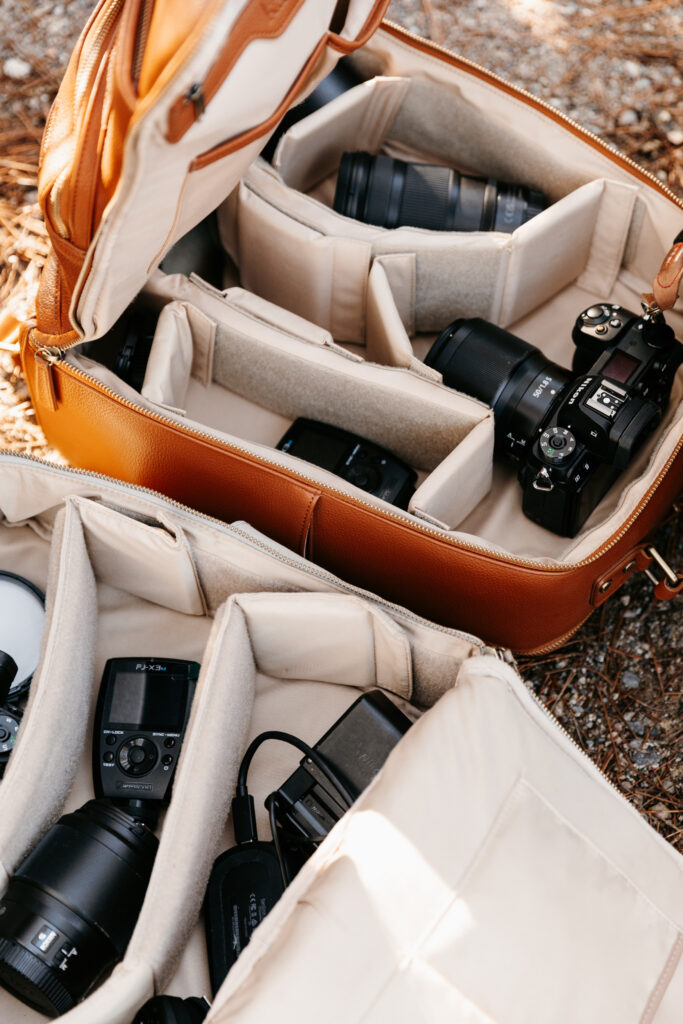

An ExpoDisc is a simple tool that helps your camera measure accurate white balance based on the light you’re shooting in. Instead of letting your camera guess, you’re giving it a much more accurate starting point.
The best part is how simple it is.
It doesn’t permanently attach to your camera, and you don’t need to use it before every photo. You only set it whenever you move into different lighting conditions, which makes it much quicker than most photographers expect.
Why we started using an ExpoDisc


We originally thought stopping to set white balance at every new location would slow us down.
It turned out to be the exact opposite.
Instead of spending hours fixing color later, we spent a few extra seconds getting it right before we started shooting. Our galleries became more consistent, our clients’ skin tones looked much more natural, and editing felt so much less overwhelming.
Your camera is smart.
However, it doesn’t always know exactly what colors should look like. An ExpoDisc helps remove that guesswork.
How to use an ExpoDisc during a session


Using an ExpoDisc quickly becomes part of your workflow.
When you arrive at a new location, stand where your subject will be instead of where you’ll be photographing from. Place the ExpoDisc over the front of your lens, follow your camera’s custom white balance instructions, and let your camera create a new white balance reading.
Once it’s set, you’re ready to photograph that entire location.
Then, whenever you move somewhere with different lighting, repeat the process.
It sounds like an extra step, but after a few sessions it becomes second nature.
Do you need to reset your white balance for every photo?


Thankfully, no.
This is one of the biggest misconceptions photographers have about using an ExpoDisc.
You only need to create a new white balance whenever the lighting changes significantly. If you’re photographing multiple poses in the same location with the same light, your original white balance setting will continue to work.

That means less time fiddling with settings and more time connecting with your clients.
Why better white balance makes editing so much easier
When your colors are already close to correct straight out of camera, everything else becomes easier.
Your skin tones look cleaner.
Your presets work more consistently.
Your editing style stays more uniform across the entire gallery.
Instead of fixing color on every image, you’re making small creative adjustments. That’s a much more enjoyable editing process.
Better color starts before Lightroom
It’s easy to think editing can fix everything.
Sometimes it can.
However, getting your white balance right before you press the shutter saves time, improves consistency, and gives you a much stronger starting point.
Your camera isn’t making your editing harder.
It just needs a little help understanding the light.
Want to feel more confident with your camera settings?

If camera settings still feel confusing, grab our free Manual Mode Cheat Sheet. We break down aperture, shutter speed, ISO, and white balance into simple steps so you can spend less time guessing and more time enjoying your sessions.
Want to master natural light? 🎥

If lighting still feels confusing, we’ve got you.
Our free Glow & Grow Training breaks natural light down step-by-step so you can stop guessing and start creating bright, consistent portraits with confidence.
Inside, you’ll learn how to find beautiful light, avoid harsh lighting situations, and create the soft, glowing portraits you’ve been working toward.
Grab your free seat below, and let’s make lighting finally click.
👉 Watch the free Glow & Grow training here:
https://esquaredphotography.com/glowandgrow
More places to hang out with us 📸
🎥 Watch the full YouTube video here:
https://www.youtube.com/c/ESquaredErinandEmily
📷 Follow us on Instagram:
https://www.instagram.com/esquared.photography/
🎁 Grab more free photography resources:
https://esquaredphotography.com/freebies
You are not behind.
You just need a plan.
Glow & Grow with E-Squared
How to Master Natural Light for Stunning, Client-Winning Portraits. This video training walks you through how to avoid bad light, deal with not ideal light, and find beautiful light.
Free Training


